How to implement Pagination Component in React from scratch
create reusable pagination component from scratch in ReactJS using react hooks.
Hey Everyone,
Hope you all doing great.
In this post we're building pagination component from scratch in ReactJS. We're not going to use any library here.
If you prefer to watch video then you can go through below video else keep reading...😄
Let's start by creating our react-app,
npx create-react-app react-pagination-component
Create separate file like PaginationComponent.js.
Here, I'm using jsonplaceholder API to get data and use pagination on that data.
This API will return us a list of todos. Now to store this data create one state and initialize it with an empty array.
const [data, setData] = useState([]);
Now let's use useEffect to set this state with our data which comes from API.
  useEffect(() => {
    fetch("https://jsonplaceholder.typicode.com/todos")
      .then((response) => response.json())
      .then((json) => setData(json));
  }, []);
if you want to see what type of data this api is providing then just go to this url: jsonplaceholder.typicode.com/todos
Also if you don't know how to fetch api in ReactJS you can watch my video on How to fetch API:
let's create small renderData component outside of our main component to render todo list.
line no 4 to 12: here I have mapped title of to-dos from data state.
line no 26 : Render renderData(data) with data state.
let's create pagination from here
To do that we need two states,
const [currentPage, setcurrentPage] = useState(1);
const [itemsPerPage, setitemsPerPage] = useState(5);
currentPage :- stores current page number, initially 0.
itemsPerPage :- stores no of items we want to display in single page. Initially it is 5.
  const pages = [];
  for (let i = 1; i <= Math.ceil(data.length / itemsPerPage); i++) {
    pages.push(i);
  }
In above code, pages array contains total number of pages like 1,2,3..upto (total data / itemsPerPage).
If you have 20 items and you want to display 5 items per page then you will need 20/5 = 4 pages.
Let's create render page number component which will display page numbers.
line no 27 to 39 : I have mapped this pages array which will return an li tag which display page numbers. This li tag contains key, id, onClick method and className. Here className becomes active when you are on the same page as currentPage state.
line no 23: This handleClick method runs when we click on any page number and set currentPage state to selected page number.
line 47: Rendered renderPageNumbers component by wrapping it with ul tag and className as pageNumbers.
NOTE: For styling, you can refer this css file.
As you have observed, This page numbers are all over whole page and now we need to set limit to display this page numbers.
To do that we need to define 3 more react states.
  const [pageNumberLimit, setpageNumberLimit] = useState(5);
  const [maxPageNumberLimit, setmaxPageNumberLimit] = useState(5);
  const [minPageNumberLimit, setminPageNumberLimit] = useState(0);
pageNumberLimit is to store how many page numbers you want to display. Here I want to display only 5.
maxPageNumberLimit is to store max page bound limit. minPageNumberLimit is to store min page bound limit.
Now modify renderPageNumbers component by putting if condition like given below,
  const renderPageNumbers = pages.map((number) => {
    if (number < maxPageNumberLimit + 1 && number > minPageNumberLimit) {
      return (
        <li
          key={number}
          id={number}
          onClick={handleClick}
          className={currentPage == number ? "active" : null}
        >
          {number}
        </li>
      );
    } else {
      return null;
    }
  });
This if condition means that if current number is greater then maxPageNumberLimit+1 and less then minPageNumberLimit then render it else render nothing.
As you run your code, you will see that there are only 5 page numbers displayed.
Next we need next and previous buttons. Create those buttons around the {renderPageNumbers} component. Just like below,
line no 66-73 and 75-81: There are two buttons prev and next.
line 41: handleNextbtn method for next button. In this method whenever user clicks on next button, it will set the current page state to plus 1. and check the condition if current page has not crossed maximum page number limit or not. If yes then it will reset this max and min page number limit with new limit.
line 50: method for previous button. Only change is in the sign and in if condition. Suppose you are at page 6 and you want to go back to 5 then this condition will check that 6-1=5%5==0 so it will become true and it will reset max and min page number limits.
line 69: we will disable prev button when user is at 1st page.
line 78: we will disable next button when user is at last page.
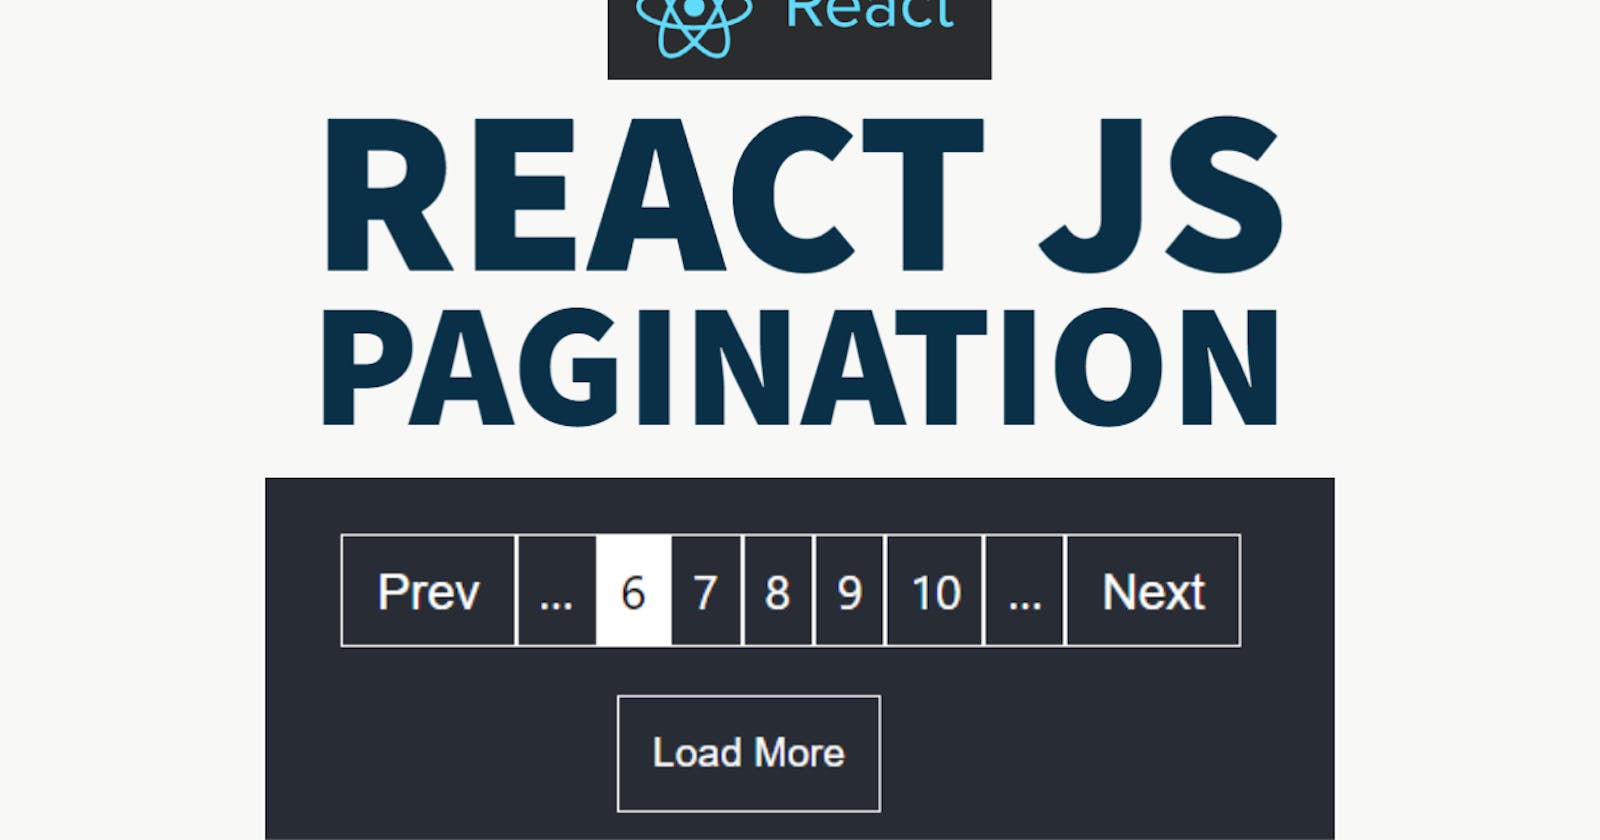
Now our Pagination component is Almost completed one thing left is to add those three dots which indicates that there are more pages then displayed
Let's create them.
Above is the full code for this Tutorial.
line no 59 and 64: Here I have created two buttons with hellip; which is unicode for …. There are two buttons pageIncrementBtn will render when page length is > maxPageNumberLimit. while pageDecrementBtn will render when minPageNumberLimit >= 1.
line no 84 and 86: render both of this ... buttons below and after the renderPageNumbers component.
Now your whole Pagination component is completed.
Watch above given video to know about one more pagination component which loads items vertically.
Thanks For Reading and Supporting.😄
Feel free to visit my youtube channel: @CodeBucks
